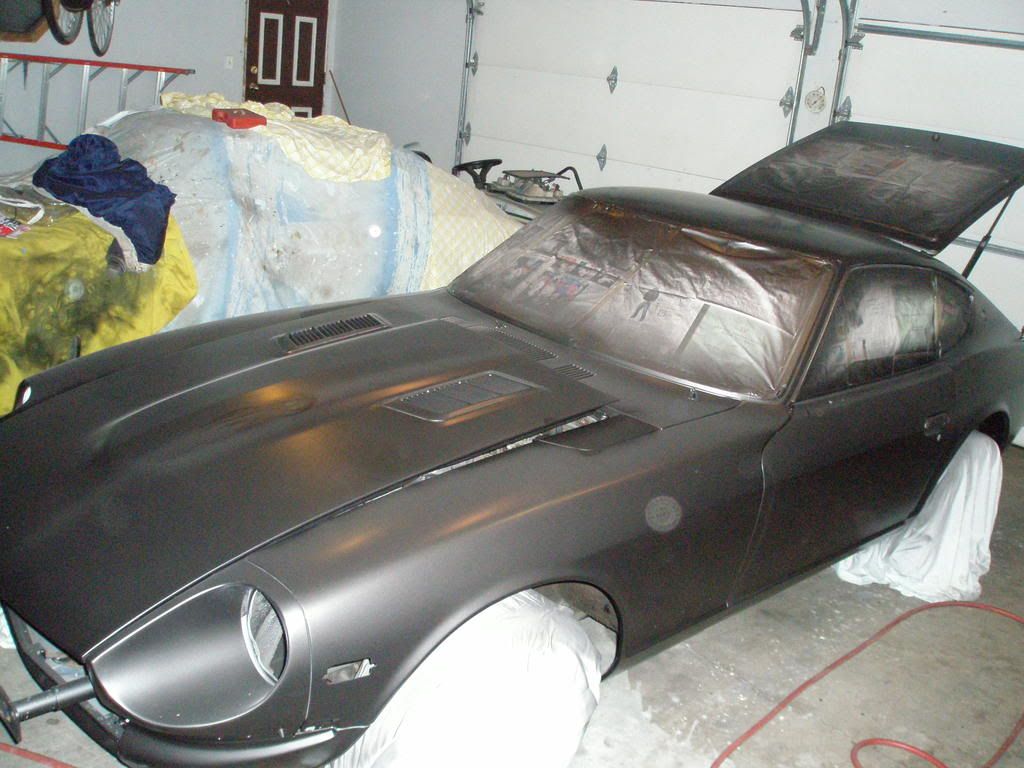
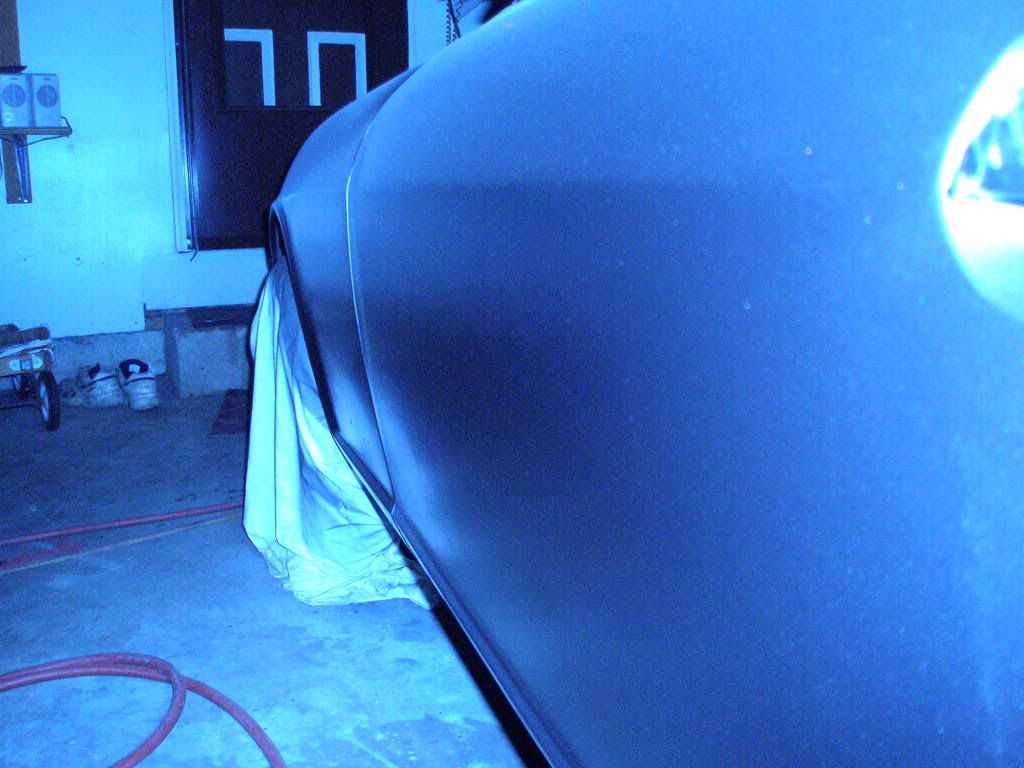
OH SNAP! new paint job for the Z's. take a looky
#1
OH SNAP! new paint job for the Z's. take a looky
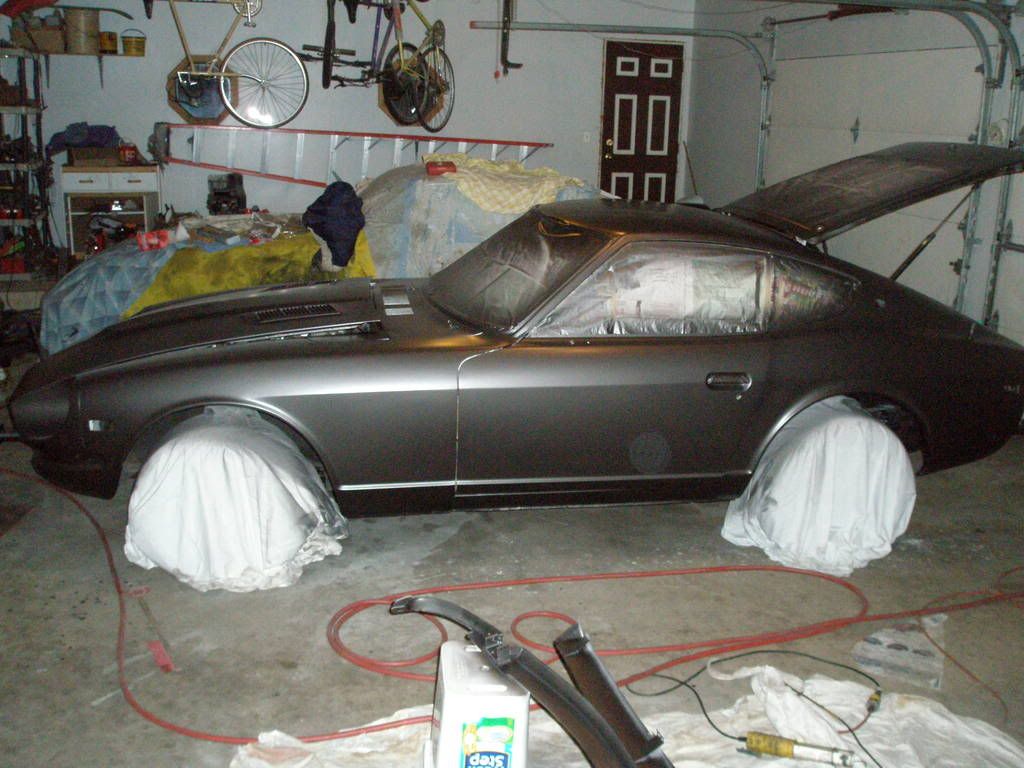
so, i did decide on a color, and got everything i need, other than what i had already, gallon of paint and clear coat and reducer to acompany it only cost me 180 dollars, and by me, i mean my parents cause it was for X-mas.
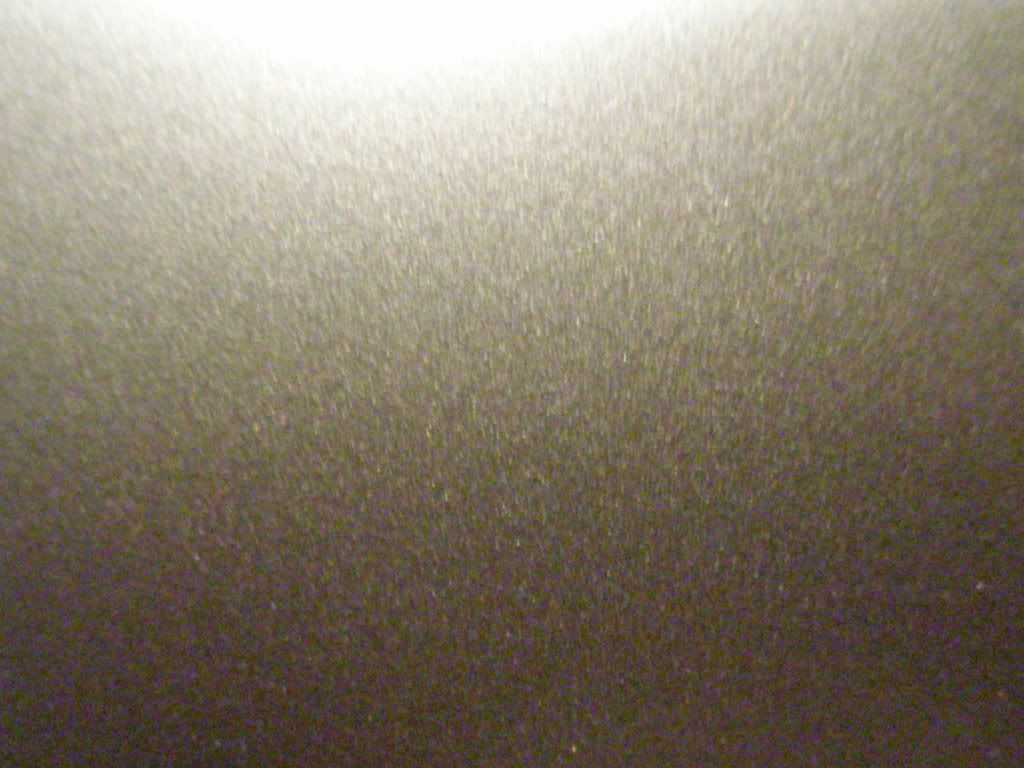
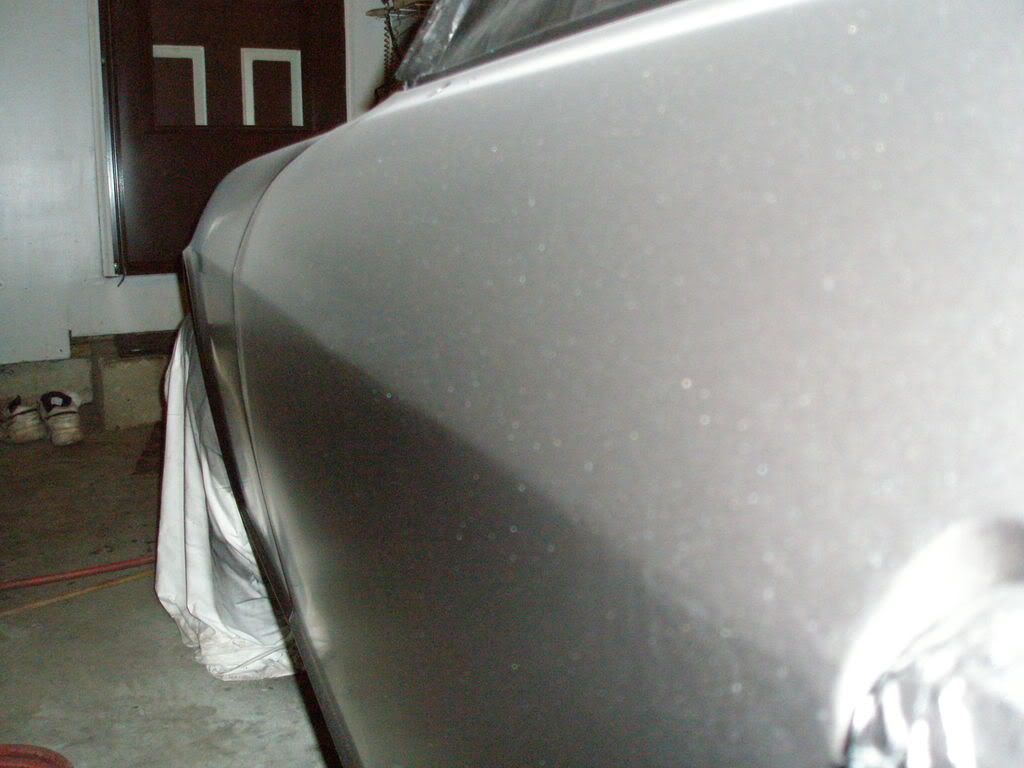
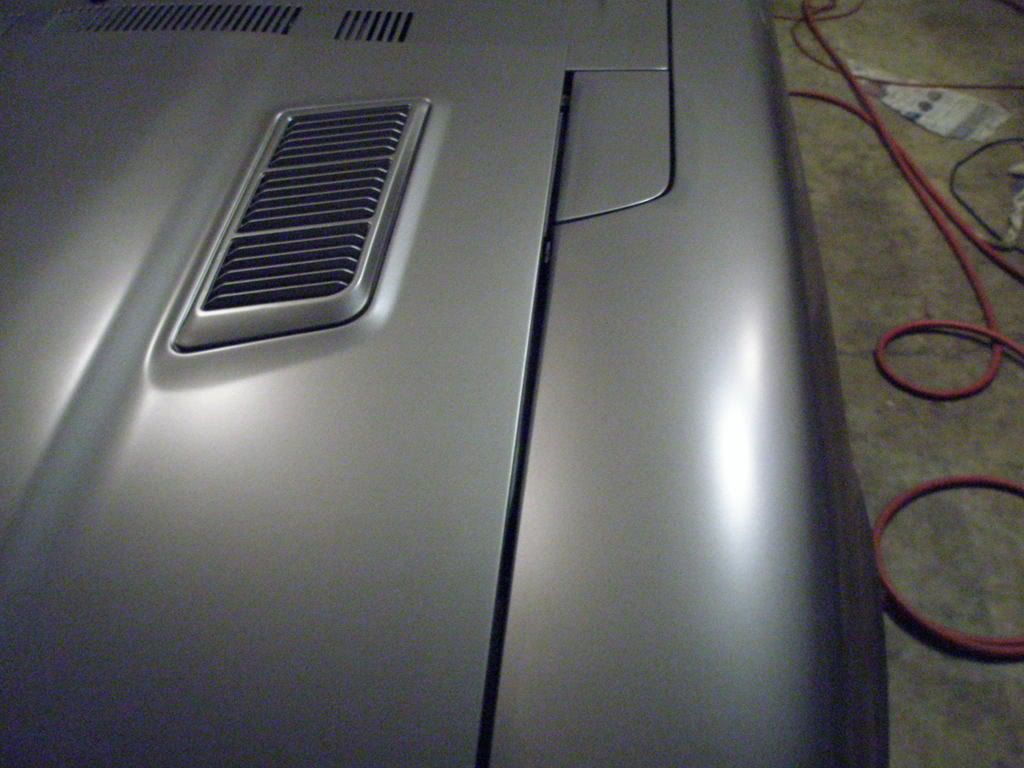
ps. sorry for the kinda crappy picturesbut i had to use the shitty 6 mega pixel camera. once i get this wet sanded and what not ill get more 10 meg pictures up. it pretty much is a sweet color.
first coat:
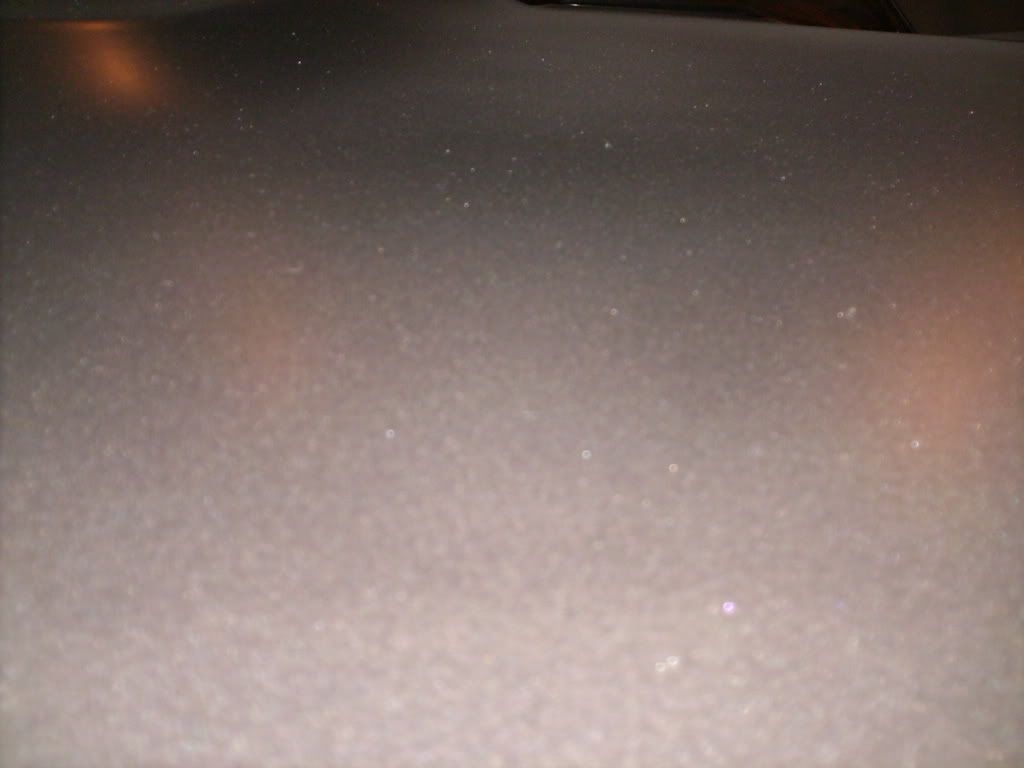
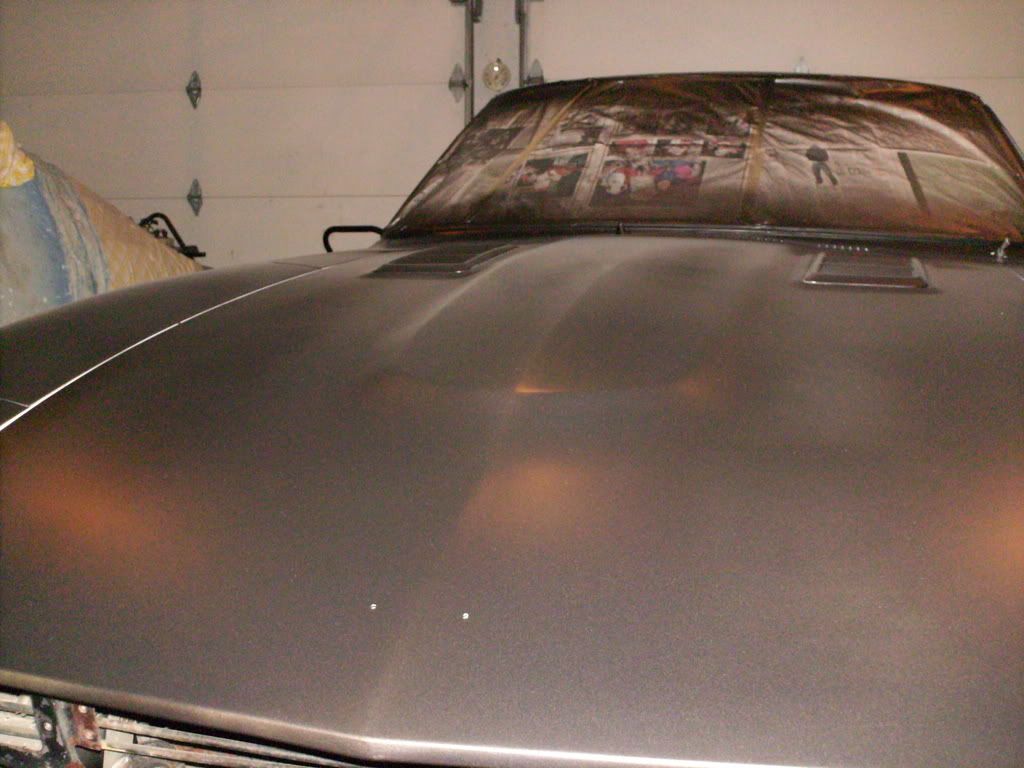
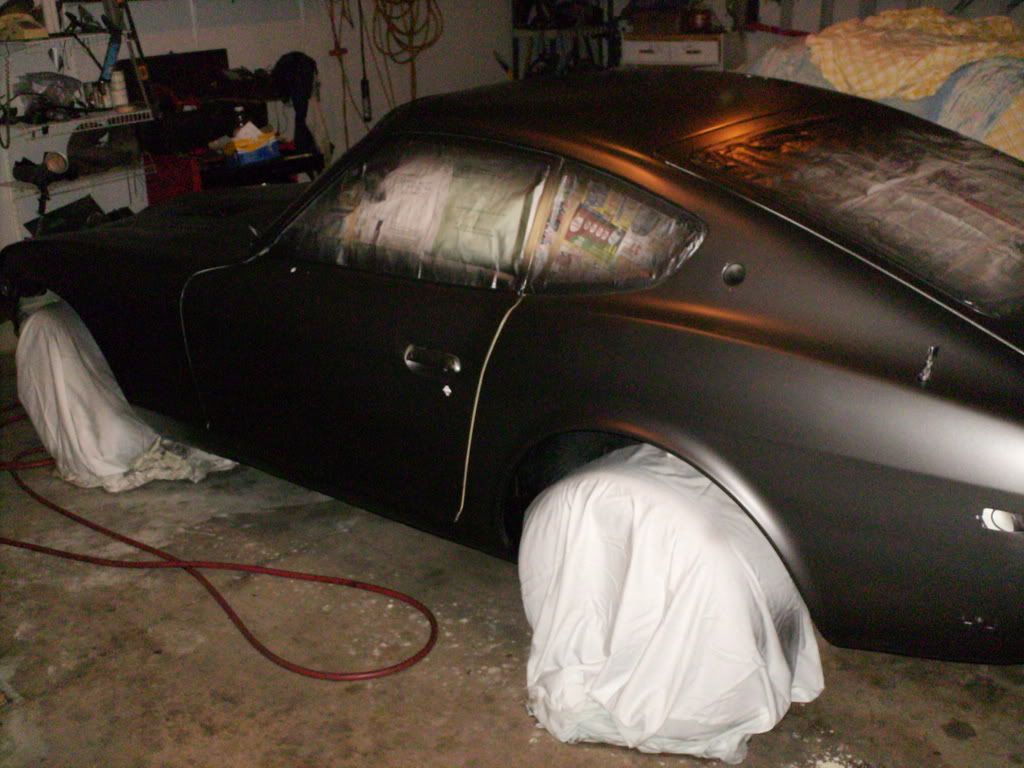
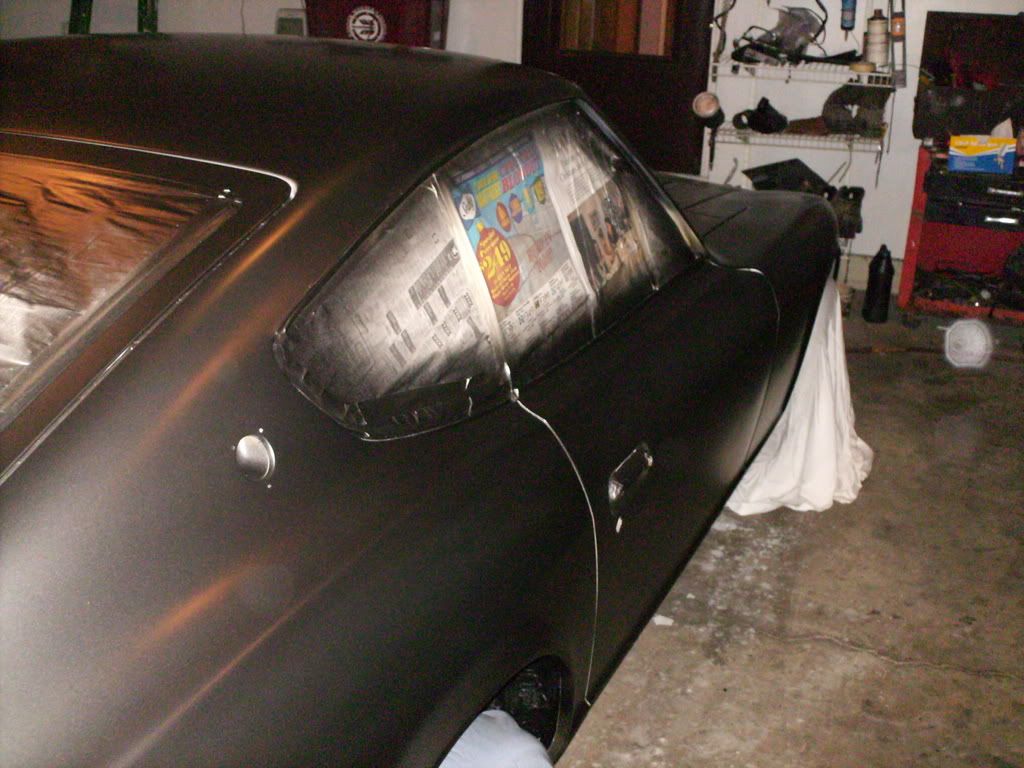
ps. sorry for the kinda crappy picturesbut i had to use the shitty 6 mega pixel camera. once i get this wet sanded and what not ill get more 10 meg pictures up. it pretty much is a sweet color.

first coat:


#5
lol, its a darker grey than your 240, and metallic, once i get clear on it and wet sand it and use a BETTER camera you'll see. but yeah, its gonna be rad. lol. and ill paint the 260 and i did some interior work on the 260 so ill put it back up for sale in spring and make the money i should this time around. speaking of the 260 though, I HATE the CHTS, its making the car flood out.... 
and for those of you that want to learn to paint your self, heres how i do it
you'll need a good spray gun get a smaller one also for touch up work, an air compressor and air regulator. best to do it in 60 degree conditions fairly dry and dust free and out of sunlight. thats why i do this stuff in winter. my garage is heated, clean and the winter air is dry and dust free. wet sand with 800 grit on the primer (remember to always spray at teh same height and angle over all surfaces, always adjust the gun spray on a dispensible object like cardboard and make sure you use the proper type and amount of reducer the paint store should have that infor for you as well as the proper PSI settings for your gun/paint) then wipe it all down and dry, remove any trim pieces you dont want painted, mask off what you cant remove. then go over it again with a damp cloth to make sure you have all the residue from sanding removed. you then let her dry and then wiper her down with grease/wax remover. DONT TOUCH THE CAR after this. then mix your paint. scatter water across the floor so that as you walk you dont kick up any more dust. not to much though to where you splash. now that the paint is mixed you got the gun set up, wipe down the surface your painting very lightly with a tack cloth to remove any dust that settled. now you go to town! wet sand between coats with 1200-1500 grit sand paper lightly, repeat steps to lay down the next coat.
Last edited by snwbrderphat540; 12-24-2007 at 09:46 PM.
#9
I TOLD YOU ITS THE SHITTY CAMERA!!!! its a crappy HP one that i got for free with my laptop, it has no optical zoom, no stabilization features, no setings other than flash, no flash, macro, scenic, and timer.... its a huge turd. lol. im not a pro with a camera but even i can do totally better than this. just gotta get that other camera charged, once i wet sand, ill re-take the picture. hopefully tommorow since i dont have anything better to do on christmas... other than halo 3 
and one more thing... i can do more than one thing right!!! lol. thanks for the kind words so far. oh and i do believe there was a small run in the passenger side door, i guess no bodies perfect.

and one more thing... i can do more than one thing right!!! lol. thanks for the kind words so far. oh and i do believe there was a small run in the passenger side door, i guess no bodies perfect.
#18
its either just residue that settled on it whil it was sitting that i wiped away with my hand when i touched it, or just a wierd camera thing like that circle you see in the two pictures. its not the paint.
oh as for flat black, its up and comming popularity is making it both hated and loved in the auto world and is starting to go to the ricer side now. it was an scca subaru that did it first and it was rattle canned just for any paint since they needed it fast. then people thought it looked mean and started doing it professionaly, i was worried it would kill the value of my car since flat paints are such a love hate thing right now so i went with this color.
oh as for flat black, its up and comming popularity is making it both hated and loved in the auto world and is starting to go to the ricer side now. it was an scca subaru that did it first and it was rattle canned just for any paint since they needed it fast. then people thought it looked mean and started doing it professionaly, i was worried it would kill the value of my car since flat paints are such a love hate thing right now so i went with this color.


 .
.
